AWS Deployment
This notebook will guide you step-by-step on how to configure your AWS instance and run Docker container in order to deploy your backend.
- Prerequisites
- Accessing AWS EC2
- Application Setup
- Server Setup
- Changing Code will require Deployment Updates
- Cockpit Navigation
- Congratulations!
Prerequisites
Fullfil these requirements prior to moving forward in this guide.
- Must have a backend repository on GitHub.
- Verify Backend Docker files are running on localhost. If it doesn’t run on localhost, then it won’t run on the deployment server!!!
- You must have a configured Domain Name pointing to the Public IP of your deployment server. This will require working with AWS Route 53.
Accessing AWS EC2
Development Operations (DevOps) requires server access.
Amazon Web Services (AWS) Management Console
- Login to AWS Console using your account. Navigate to “EC2” and the “Instances” dropdown.
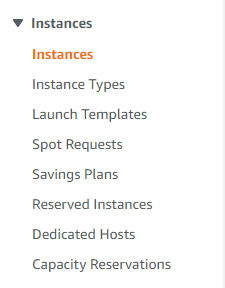
- From here, a variety of instances will show up. For this project, depending on which class you have, select either “CSP” or “CSA”
Unrestricted Gateway to AWS EC2 Terminal
At school access csp.nighthawkcodingsociety.com or csa.nighthawkcodingsociety.com to log in to the deployment server. Observe Cockpit features in section below, but primarily you will be using Terminal in this setup. - Username is
ubuntu. Password hint is 3 Musketeers
Application Setup
Finding a Port
In AWS EC2 terminal;
- Run
docker psreview list and find a port number starting in 8— that is not in use. Valid ports are between 1024-49150, but we are asking that you stick to 8—.
On localhost setup Docker files using VSCode
-
Open VSCode and navigate to your repository (backend)
-
Make sure your
Dockerfileanddocker-compose.ymlmatch the port you discovered withdocker pson AWS EC2. Refer to anatomy guide for you language and framework for a guide to you Docker files. -
Test
docker-compose uporsudo docker-compose upin your VSCode terminal (don’t forget to ‘cd’ into the right repo.) Errors will be shown in Terminal, be sure NOT to type -d. -
After it’s done building, type in
http://localhost:8---in your browser (replace ‘8—’ with your port number you’ve chosen) -
If all runs smoothly, push your changes to Github and continue to AWS setup
Server Setup
In the AWS EC2 terminal;
-
cd ~ -
Clone your backend repo:
git clone github.com/server/project.git my_unique_name -
Navigate to your repo:
cd my_unique_name -
Build your site:
docker-compose up -d --build -
Test your site:
curl localhost:8---(replace ‘8—’ with your port number)This should show you all the html content of your home page. If this provides 500 error you need to check your site on localhost. If it produces broken pipe error you need to check your ports between docker-compose.yml and Docker files. If the page does not have your content, you need to check
docker psas someone is using your port number.
If all runs smooth, continue to DNS & NGINX Setup
Route 53 DNS
Goto AWS Route 53 and setup DNS subdomain for your backend server.
Route 53 Hosted Zone Configuration File:
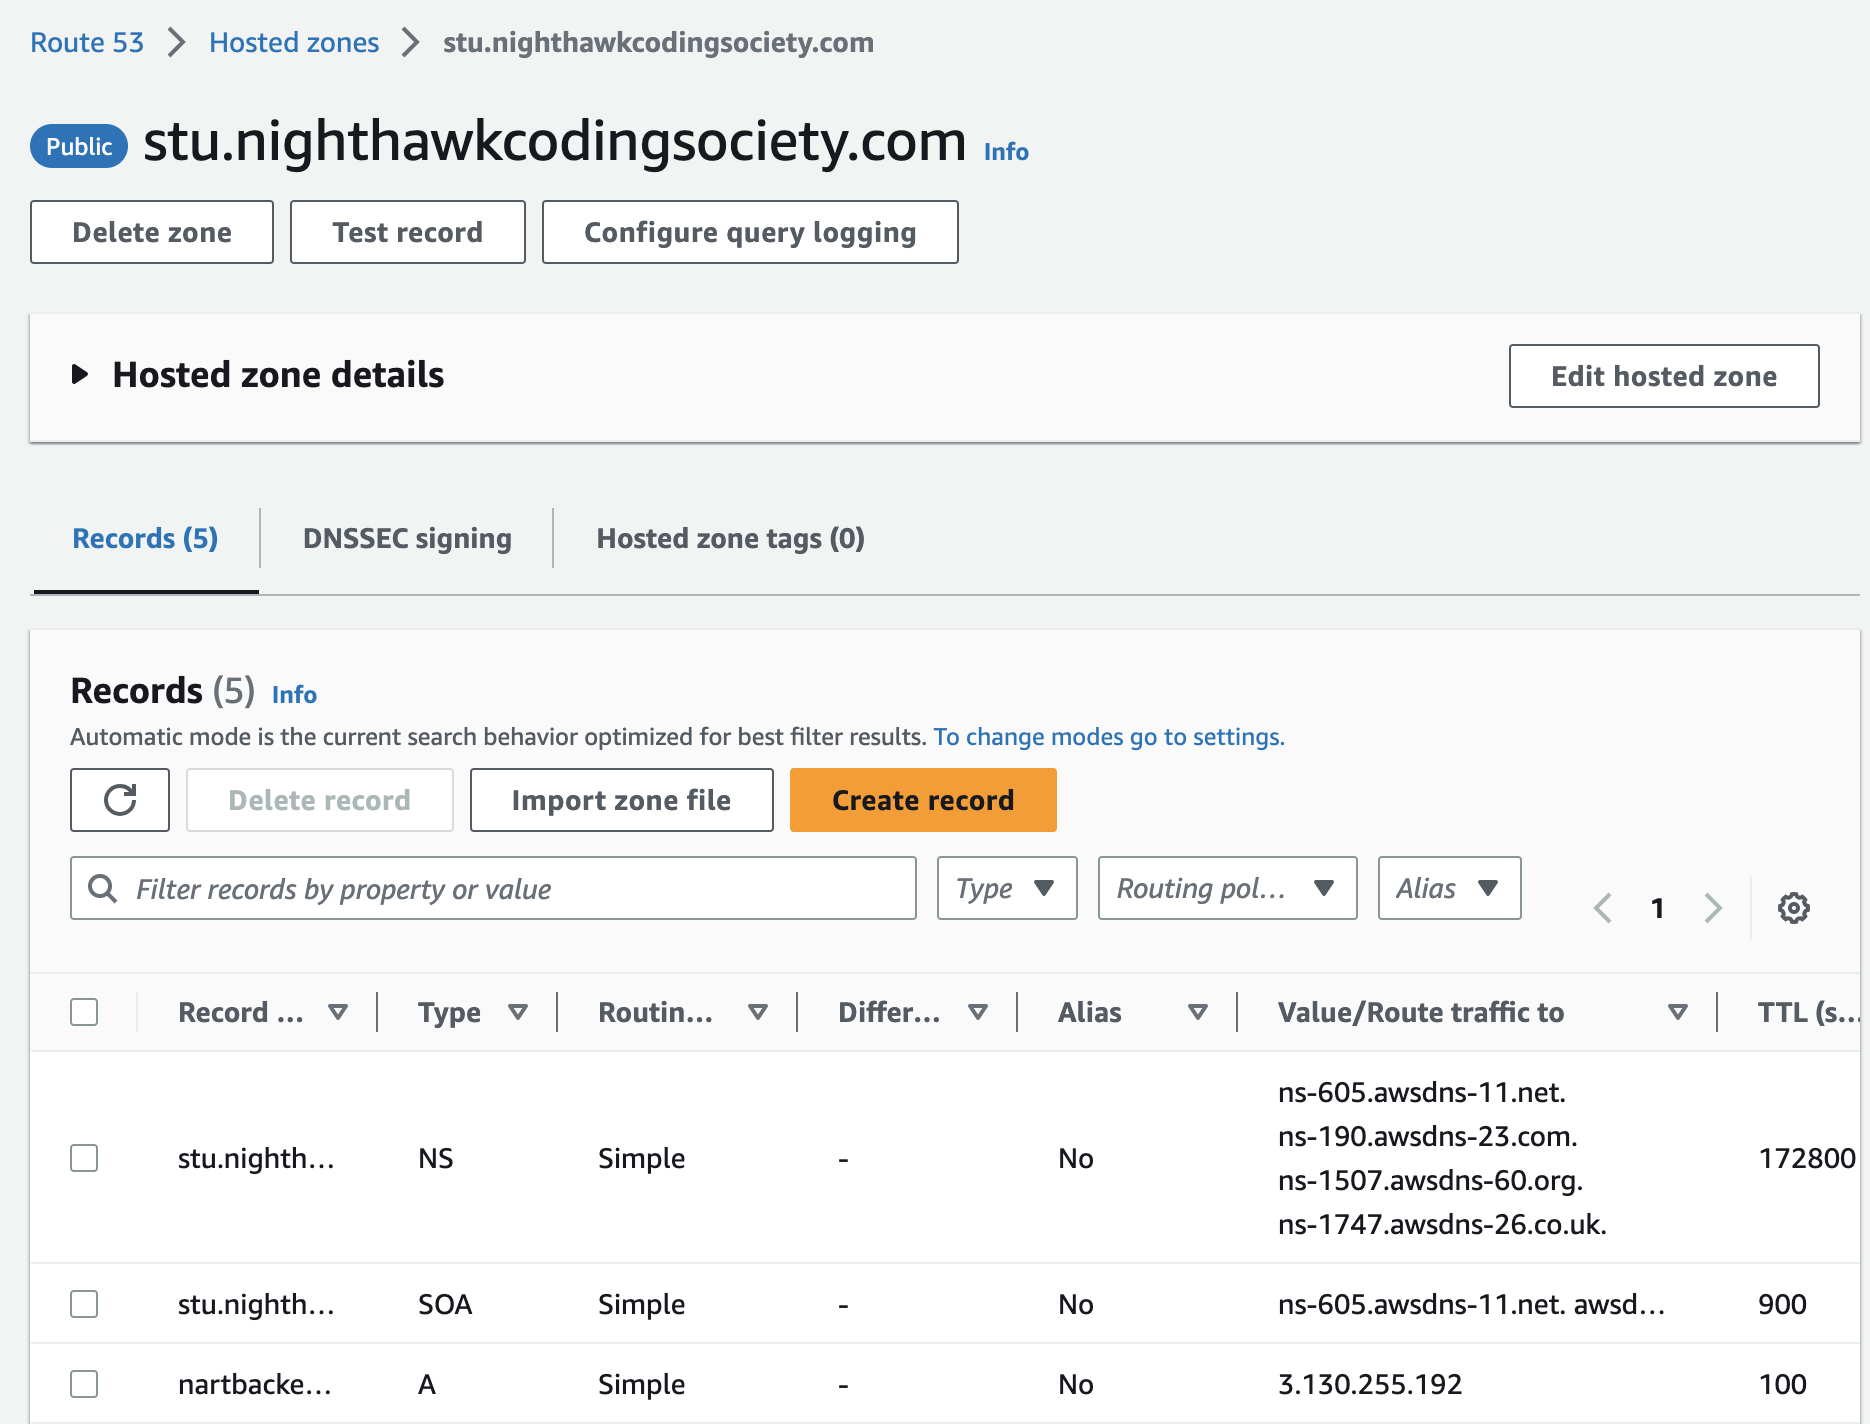
Route 53 DNS Setup:
| Record name | Type | Value/Route traffic to |
|---|---|---|
projectUniqueName |
CNAME | csp.nighthawkcodingsociety.com |
projectUniqueName |
CNAME | csa.nighthawkcodingsociety.com |
Nginx setup
Begin process of establishing reverse proxy (map) of your application to your Domain.
-
Navigate to in terminal to nginx:
cd /etc/nginx/sites-available -
Create an nginx config file (change projectUniqueName to make you unique config file, suggest using your registered domain):
sudo nano projectUniqueName -
Use the format below to write into your config file, make updates according to comments
server {
   listen 80;
    listen [::]:80;
    server_name -----.stu.nighthawkcodingsociety.com ; # CHANGE SERVER NAME TO YOUR REGISTERED DOMAIN
    location / {
        proxy_pass http://localhost:8---; # CHANGE PORT TO YOUR UNIQUE PORT
        # Simple requests
        if ($request_method ~* "(GET|POST|PUT|DELETE)") { # Customize Request methods based on your needs
                add_header "Access-Control-Allow-Origin"  *;
        }
        # Preflighted requests
        if ($request_method = OPTIONS ) {
                add_header "Access-Control-Allow-Origin"  *;
                add_header "Access-Control-Allow-Methods" "GET, POST, PUT, DELETE, OPTIONS, HEAD"; # Make sure the request methods above match here
                add_header "Access-Control-Allow-Headers" "Authorization, Origin, X-Requested-With, Content-Type, Accept";
                return 200;
        }
    }
}
-
To save changes,
ctl Xorcmd X, theny, thenenter -
Activate configuration. Create a symbolic link (change projectUniqueName to your nginx config file name):
cd /etc/nginx/sites-enabled, thensudo ln -s /etc/nginx/sites-available/projectUniqueName /etc/nginx/sites-enabled -
Validate by running:
sudo nginx -t -
Restart nginx by running
sudo systemctl restart nginx -
Test your domain name on your desktop browser now (only http://, not https://)
If all runs smoothly, continue to Certbot config
Certbot Config
Certbot allows your site to get a certificate in order for the http request to be secure (https)
- Run command below and follow prompts
sudo certbot --nginx
Ideal outcome is shown below
- There are two outcomes during Certbot
- Success, test your domain name on your desktop browser now using https://
- Failure, follow guidance provided by CertBot
Saving debug log to /var/log/letsencrypt/letsencrypt.log
Plugins selected: Authenticator nginx, Installer nginx

Which names would you like to activate HTTPS for?
- - - - - - - - - - - - - - - - - - - - - - - - - - - - - - - - - - - - - - - -
...
28: cars.nighthawkcodingsociety.com
29: dolphin.nighthawkcodingsociety.com
30: saakd.nighthawkcodingsociety.com
...
- - - - - - - - - - - - - - - - - - - - - - - - - - - - - - - - - - - - - - - -
Select the appropriate numbers separated by commas and/or spaces, or leave input
blank to select all options shown (Enter 'c' to cancel): # ENTER YOUR CORRESPONDING NUMBER

Cert not yet due for renewal

You have an existing certificate that has exactly the same domains or certificate name you requested and isn't close to expiry.
(ref: /etc/letsencrypt/renewal/nighthawkcodingsociety.com-0001.conf)

What would you like to do?
- - - - - - - - - - - - - - - - - - - - - - - - - - - - - - - - - - - - - - - -
1: Attempt to reinstall this existing certificate
2: Renew & replace the cert (limit ~5 per 7 days)
- - - - - - - - - - - - - - - - - - - - - - - - - - - - - - - - - - - - - - - -
Select the appropriate number [1-2] then [enter] (press 'c' to cancel): 2
Renewing an existing certificate
Performing the following challenges:
http-01 challenge for nighthawkcodingsociety.com
http-01 challenge for csa.nighthawkcodingsociety.com
http-01 challenge for cso.nighthawkcodingsociety.com
http-01 challenge for flm.nighthawkcodingsociety.com
Waiting for verification...
Cleaning up challenges
Deploying Certificate to VirtualHost /etc/nginx/sites-enabled/nighthawk_society
Deploying Certificate to VirtualHost /etc/nginx/sites-enabled/nighthawk_csa
Deploying Certificate to VirtualHost /etc/nginx/sites-enabled/nighthawk_csp
Deploying Certificate to VirtualHost /etc/nginx/sites-enabled/nighthawk_flm

Please choose whether or not to redirect HTTP traffic to HTTPS, removing HTTP access.
- - - - - - - - - - - - - - - - - - - - - - - - - - - - - - - - - - - - - - - -
1: No redirect - Make no further changes to the webserver configuration.
2: Redirect - Make all requests redirect to secure HTTPS access. Choose this for
new sites, or if you're confident your site works on HTTPS. You can undo this
change by editing your web server's configuration.
- - - - - - - - - - - - - - - - - - - - - - - - - - - - - - - - - - - - - - - -
Select the appropriate number [1-2] then [enter] (press 'c' to cancel): 2
Traffic on port 80 already redirecting to ssl in /etc/nginx/sites-enabled/nighthawk_society
Traffic on port 80 already redirecting to ssl in /etc/nginx/sites-enabled/nighthawk_csa
Traffic on port 80 already redirecting to ssl in /etc/nginx/sites-enabled/nighthawk_csp
Traffic on port 80 already redirecting to ssl in /etc/nginx/sites-enabled/nighthawk_flm

- - - - - - - - - - - - - - - - - - - - - - - - - - - - - - - - - - - - - - - -
Your existing certificate has been successfully renewed, and the new certificate
has been installed.

The new certificate covers the following domains:
https://nighthawkcodingsociety.com,
https://csa.nighthawkcodingsociety.com,
https://csp.nighthawkcodingsociety.com, and
https://flm.nighthawkcodingsociety.com,

You should test your configuration at:
https://www.ssllabs.com/ssltest/analyze.html?d=nighthawkcodingsociety.com
https://www.ssllabs.com/ssltest/analyze.html?d=csa.nighthawkcodingsociety.com
https://www.ssllabs.com/ssltest/analyze.html?d=csp.nighthawkcodingsociety.com
https://www.ssllabs.com/ssltest/analyze.html?d=flm.nighthawkcodingsociety.com
- - - - - - - - - - - - - - - - - - - - - - - - - - - - - - - - - - - - - - - -

IMPORTANT NOTES:
 - Congratulations! Your certificate and chain have been saved at:
   /etc/letsencrypt/live/nighthawkcodingsociety.com-0001/fullchain.pem
   Your key file has been saved at:
   /etc/letsencrypt/live/nighthawkcodingsociety.com-0001/privkey.pem
   Your cert will expire on 2022-03-06. To obtain a new or tweaked
   version of this certificate in the future, simply run certbot again
   with the "certonly" option. To non-interactively renew *all* of
   your certificates, run "certbot renew"
 - If you like Certbot, please consider supporting our work by:

   Donating to ISRG / Let's Encrypt:   https://letsencrypt.org/donate
   Donating to EFF:                    https://eff.org/donate-le
Changing Code will require Deployment Updates
Changing Code in VSCode
To keep deployment working, good practices in your coding process with verifications prior to pushing code to GitHub will save a lot of troubleshooting.
- Make sure to
git pullbefore making changesThis will make sure that you pull any changes made by your team, and prevents merge conflicts
- Open terminal in VSCode and run
python3 main.py(Make sure you cd into your repo)This should give you a local address where your flask is running. Open this in your browser to see your changes live
- Make changes that are needed
Refer to your running site often to see changes as you develop
- Commit your changes locally
Do not
Syncchange from UI orgit pushfrom terminal yet, justCommit. It is great practice to Commit Often with sensible comments. Anytime after you commit you can pull team members changes for additional verifications. - Before updating deployment start Docker Desktop app and test your Web Application.
Test
docker-compose uporsudo docker-compose upin your VSCode terminal (don’t forget to ‘cd’ into the right repo). - After Docker is done building, type in
http://localhost:8---in your browser.Replace ‘8—’ with your port number. Review your personal changes and team members changes in running site. As long as Docker Desktop and Docker App is running, you can make little changes and save, they should refresh in site within a few seconds. Any errors, runtime errors, will appear in browser of VSCode terminal, read messages thoroughly and debug errors. Docker Desktop may consume a lot of CPU resources, if you are unplugged you may want to close it after you are done testing.
- If all goes well,
Syncchange from UI orgit pushfrom terminal.If you can’t push review
git statusfrom terminal. Resolve all open filesgit restoreorgit commit, thengit pulland repeat steps 5 to 7.
Pulling Changes into AWS EC2 deployment
Updates should be quick and easy, as long as your teams verifies problems on localhost prior to these steps.
In your AWS EC2 terminal;
-
Navigate to your repo:
cd ~/my_unique_name docker-compose downTest Server in browser using https://, it should be down (502 Bad Gateway in browser)
-
git pull - Rebuild your docker container:
docker-compose up -d --buildTest Server in browser using https://, sll updates should be up and running on internet.
Optional, Troubleshooting checks on AWS EC2
These commands let you see status of your running web application on AWS EC2
- Try to curl:
curl localhost:8---(replace ‘8—’ with your port number)Verify home pages is yours
- Run
docker-compose psPerform check on your container, verify docker is up
- Run
docker psPerform checks on all containers and all images
Cockpit Navigation
This portion will cover Cockpit’s features. Login to Cockpit by accessing your subdomain.
The left navigation bar in Cockpit presents a few options that you can select:
Overview
The overview section provides a summary of health, usage, system, and configuration information. Click on “View details and history” to check CPU, memory, and network settings.
Logs
These provide information about the system, such as a failed login. Logs can be filtered based on criteria such as time or priority.
Storage
See disk read and write settings and storage logs.
Networking
This portion shows the network traffic of the server and interface information. VLANs and bridges can also be added here.
Accounts
This setting allows the administrator to create and manage accounts. You can click on a user to edit user settings, such as changing the password and adding SSH keys.
Services
Click on a service to view its settings. A service can be reloaded, restarted, or stopped by clicking on the three dots. The dropdown under “Show relationships” includes information such as a service’s dependencies and when it starts in relation with other services (what services start before and after this service)
Software Updates
If you are running Ubuntu 17.10 or later, a “Loading available updates failed” error message will appear. This is because Ubuntu changed the network management from network-manager to netplan.io, which has not been updated in Cockpit. A way to fix this is to change netplan’s configuration file to manage one interface with network-manager.
sudo nano /etc/netplan/50-cloud-init.yaml
Next, add the following line under network:
renderer: NetworkManager
Then, execute
sudo netplan try
Refresh Cockpit, and the “Software Updates” page should work. Updates can now be installed.
Terminal
A command line interface that is the same as the machine’s terminal on AWS EC2.
Update hostname and system time
Go to Overview -> Configuration -> Click on “edit” next to “Hostname” and configure a hostname for the server.
Click on the time next to “System time” to set the time zone.
User account settings
Go to Accounts -> Click on “Create new account” and fill out the boxes
After the user is created, click on the user. You can check “Server administrator” to give the user sudo privileges.
You can also configure account expiration and password expiration settings by clicking on “edit” next to the two settings.
To test the new user account created, logout, and then login with the new user credentials. If the user has administrative privileges, you can click on the button that says “Limited access” at the top right corner to gain those privileges.
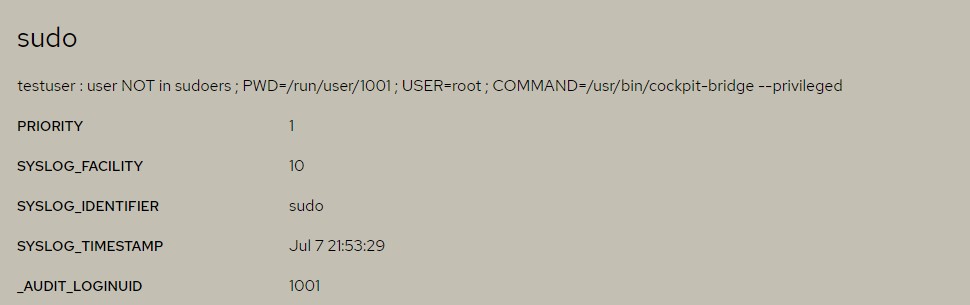
Note: If the user was not configured as a “Server administrator” and tried to gain admin privileges by clicking the button, the attempt will fail and will be logged. You can view the log by clicking on “Logs” in the sidebar:
Congratulations!
Congratulations on deploying your site with AWS!